In this tutorial, I’ll walk you through how to create an Amazon Web Services (AWS) account — the first step to sending emails with Boldermail! If you have already have an account on Amazon AWS, you can skip this tutorial, and jump to the What’s Next? section.
Just follow these steps, and if you have any questions, don’t hesitate to contact me!
1. Go to the Amazon Web Services page by clicking here.
2. Click on the “Create an AWS Account” button on the upper right corner of the page.

3. Amazon Web Services will ask you to enter your email address, write your password for this account, and an account name (a username). Once you enter this information, click on “Continue”.

4. Next, you will be asked to enter your account information. Select whether this will be a Professional or Personal account. This selection depends on how you do business. If you do business through an LLC or a corporation, select “Professional” and provide your name and your company name. If you are doing business as yourself (i.e. you have not formed a company with your country or state), select “Personal” and only provide your name. Then, enter your phone number and company (or home) address, and select the box agreeing to AWS Terms & Conditions. Click on “Create Account” and continue.

5. Next, you will be asked for your credit card information. It’s important to understand that having an AWS account is free, and you will only be billed for your use of their services (sending emails)! You’ll be charged $0.0001 for every email you send through their servers.

6. In the next step, you will be asked to confirm your identity. Provide your phone number and enter the text in the security image in the text input field provided.

After you click on “Contact me”, a PIN number will appear on your screen. You will receive a phone call from Amazon, and an automated voice will request this PIN number. Enter the PIN number using the keypad on your phone.

If you enter your PIN number correctly, the automated voice on the phone will prompt you to return to your screen. You should see a success message displayed on your screen. Click on “Continue”.

7. Finally, you will be asked to select a plan. Select the Basic Plan by clicking on the “Free” button.

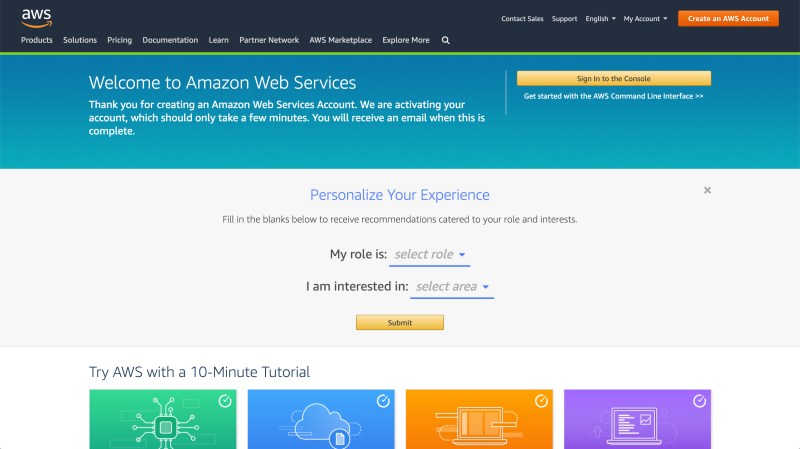
8. That’s it! If you followed these instructions correctly, you should see a welcome message!

What’s Next?
The next — and final! — step is to setup a user for Boldermail in Amazon Identity and Access Management (Amazon IAM) console. It will only take you another 5 minutes! This will allow me at Boldermail to set up Amazon Simple Email Services (Amazon SES) for you.